- Clone && Code
- Posts
- Instagram App Login - Clone && Code #001
Instagram App Login - Clone && Code #001
Let's clone the Instagram login screen with React Native?

Hey guys! Welcome to the first (and worst) tutorial in our Clone && Code newsletter! 🚀
Summary:
Introduction & Disclaimers
Project: Layout and React Native Components
Step 1 - Adding and Styling Images
Step 2 - Added and styling Text Fields
Step 3 - Adding and styling Buttons and Links
Step 4 - Adjusting spacing
1. Introduction & Disclaimers.
I'm thrilled to see our community grow to over 300 members in just under 3 days. With your support, we can keep expanding. If you find our content valuable, please consider sharing it on your social networks and with your friends. Your help in spreading the word will enable us to continue providing quality free content.
Now, without further delay, let's dive into today's exciting tutorial: "Cloning the Instagram Login Screen!"
Disclaimer: For our debut episode, I've chosen to start with something both straightforward and practical. Since nearly all apps require a login screen, I'm going to demonstrate how to create one in React Native in the simplest way possible.
To continue with this tutorial, I assume you already have expo installed. If you don't have it, see this link I prepared with instructions.
Links:
2. Project Layout and React Native Components.
The end result will look like this for iOS and Android! Cool huh?

iOS Simulador / Android Emulator
Now let's try to understand the layout, separating it by components.
In case you didn't know, everything in React/React Native is components. For now, imagine that components are little LEGO pieces, which you can fit together to build something bigger (Screens).
In the image below you can see the following indication:
UI Component ==> React Native Component.

UI (User Interface) components connected with React Components.
To use React Native components, we need to import them.
In the App.js file that was created and is at the root of your project, change line number 2 (where we are importing react-native components) to the following code:

import {
  StyleSheet,
  Text,
  TextInput,
  TouchableOpacity,
  View,
  Image,
  SafeAreaView,
} from "react-native";
These will be all the components we will use... Don't worry about them now, we will explain each one in the next steps.
3. Step 1 - Adding and Styling Images
Still in the App.js file, now let's import the Instagram logo and meta logo images, which are in the assets folder of our project.
This is a standard folder for files (not just images). So whenever you need it, use it..

At the bottom of the page, there is a javascript object called styles. It is used to create CSS styles and add them to React Native components.
Let's add some styles to both logos, as shown below.

const styles = StyleSheet.create({
  // ... current code
  instagramLogo: {
    width: 70,
    height: 70,
  },
  metaLogo: {
    width: 70,
    resizeMode: "contain",
  },
});
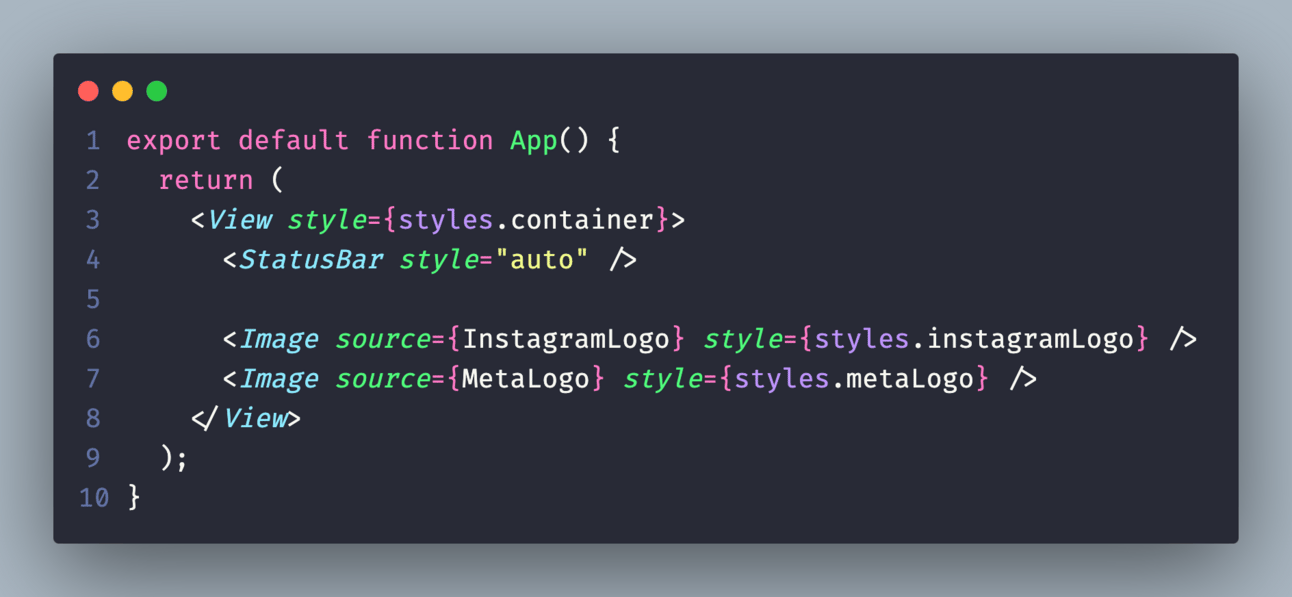
And now, we replace the entire contents of the View component, and add the two Image components that will render the logos.

export default function App() {
  return (
    <View style={styles.container}>
      <StatusBar style="auto" />

      <Image source={InstagramLogo} style={styles.instagramLogo} />
      <Image source={MetaLogo} style={styles.metaLogo} />
    </View>
  );
}
And this is the result we have! You can already see a good start, right? 😃


Reply